FilmLab
A darkroom
on your Mac
A digital darkroom built on a physical and chemical model of colour negative film. Light from your RAW file passes through a multi-layer emulsion, forms a latent image and sets development in motion. Then you scan the negative, or print it.
In development · not yet available to download
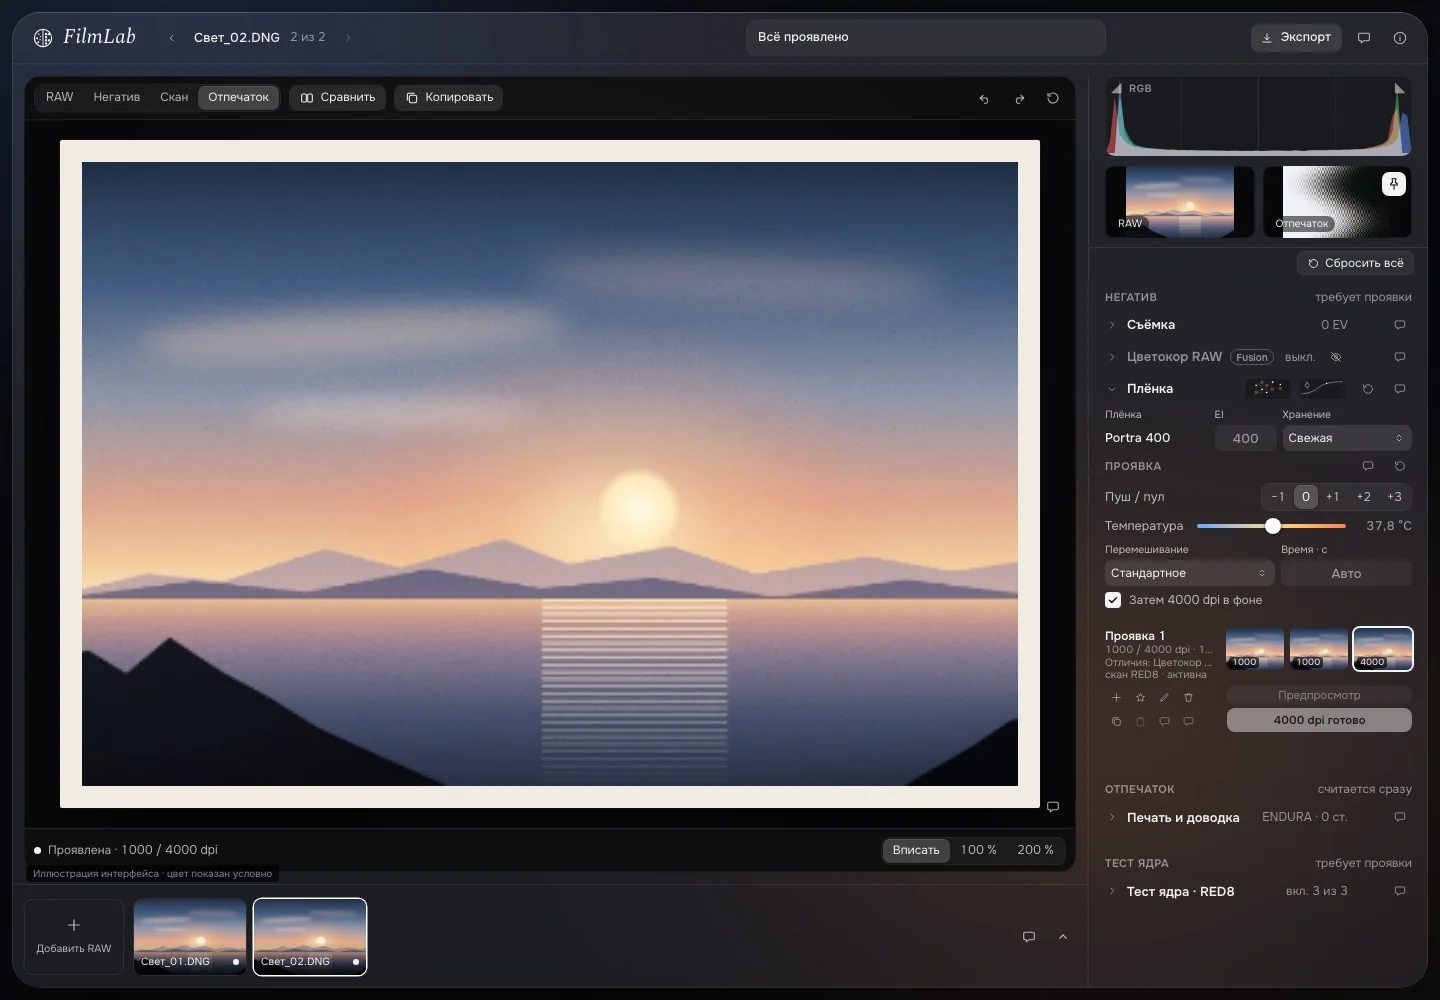
Film as a process, not a filter.
Your RAW becomes a spectrum of light that enters a model of a multi-layer colour negative. Then: the latent image, development with real chemistry, dye formation, bleach and fix — and finally a scanner or an optical print.
The model is calibrated against published data for colour negative film and the C-41 process. Every parameter records its value, unit, source and confidence.
- Protective overcoat
- Blue-sensitive · yellow dye
- Yellow filter
- Green-sensitive · magenta dye
- Red-sensitive · cyan dye
- Film base
- Anti-halation layer
From the sun, through the emulsion, to the print.
Each stage is modelled. Each one leaves a trace in the image.
| No. | Stage | Modelled | In your image |
|---|---|---|---|
| 01 | Spectrum | RAW to linear colour to an estimated spectrum: 41 bands, 380–780 nm | How each layer responds to colour |
| 02 | Emulsion | Thirteen layers; three emulsion sub-layers per colour record | Different response to exposure |
| 03 | Light in film | Absorption, scatter, base reflections, the anti-halation layer | Softness and halation |
| 04 | Grains | Tabular silver halide grains, photon statistics, latent image formation | Grain; behaviour at very long and short exposures |
| 05 | Development | Reaction and diffusion of developer, bromide and inhibitors; time, temperature, agitation | Density, contrast, edge effects |
| 06 | Dye | Colour-forming and masking couplers | Dye densities of the negative |
| 07 | Bleach & fix | Silver removal; residual silver when bleaching is incomplete | The character of the negative |
| 08 | Scan | Light, spectral channels, optics, inversion | A positive that depends on the scanner |
| 09 | Optical print | Light through the negative, paper response, filtration | A print with its own colour and contrast |
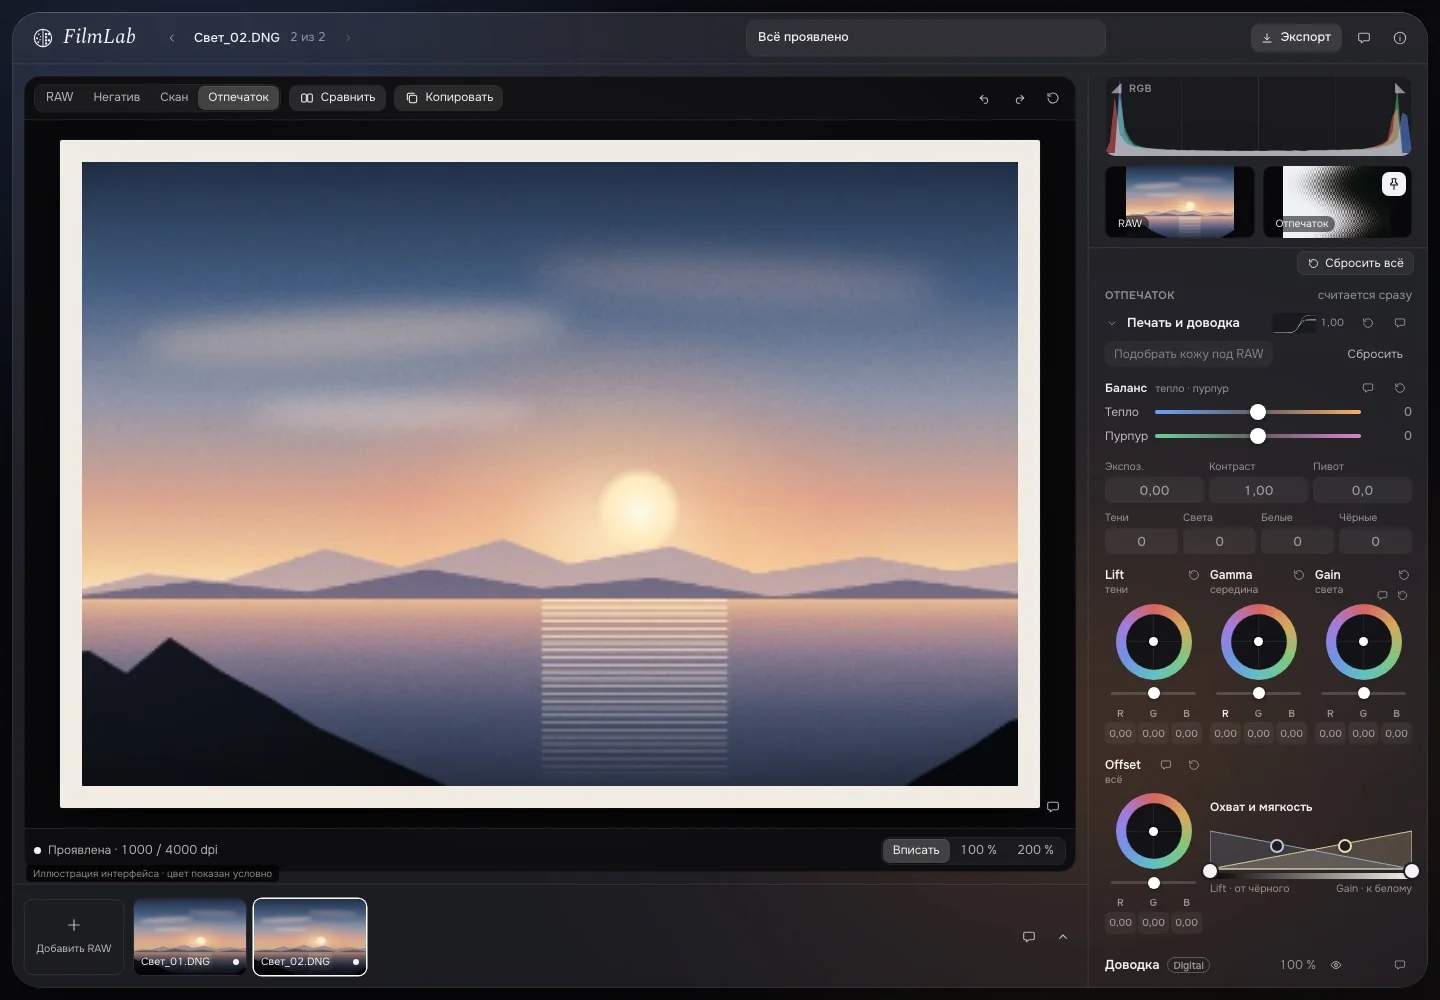
The same choices you would make at the lab.
- EXPOSURE
- Exposure, light, filtration
- FILM
- Model version, storage, ageing colour shift
- DEVELOPMENT
- Push and pull, time, temperature, agitation
- CHARACTER
- Grain, glow, halation
- SCAN & PRINT
- Scanner processes, auto-exposure, paper, finishing
Everything before the negative needs development. Print and finishing update instantly.
Physical development
The whole film and process model is recomputed. It takes time — and it is the reference result.
Scanner and print
In real time. A developed negative is rescanned and reprinted as you change the settings.
Learned preview
A fast estimate of how the negative will change while you choose parameters. It does not replace full development.
Interface illustrations; colour shown schematically.
US patents referenced in the technical material: layer structure, grains, couplers, development kinetics
spectral bands from 380 to 780 nm — light is computed as a spectrum, not as three channels
layers in the colour negative model, nine of them emulsion
A physical and chemical model built on patents, photographic material data sheets and scientific literature.
Film stock names serve as calibration references to published data. They imply no affiliation with, or access to proprietary formulas of, their manufacturers.
Instant development.
We are training fast models on our physical simulation and on real measurements — to bring the controllable character of film to fast apps and partner products, mobile included.
- 01Keep validating the physical model against published and real measurements
- 02Train a fast predictor on simulation results and real film data
- 03Test it on new images, parameter ranges and spatial effects
- 04Reach instant processing with a clearly defined accuracy
- 05Package the technology as a component for integration, and test it on target devices